Debian Installation On QNAP: Difference between revisions
(Created page with "== Overview == Things you need to know prior to installation. *Debian installation is standalone and '''WILL ERASE ALL '''the existing files/data on the current...") |
m (+Category:Debian) |
||
| Line 134: | Line 134: | ||
<br> | <br> | ||
[[Category:Debian| ]] | |||
Revision as of 18:40, 26 October 2015
Overview
Things you need to know prior to installation.
- Debian installation is standalone and WILL ERASE ALL the existing files/data on the current hard drive as well as QNAP firmware resides on the flash memory. Therefore you have to make a backup of data on your hard disk prior to installation. Detailed information on how to backup your existing data on disk or flash partitions can be found here.
- Debian on QNAP does not install a web interface for configuring the system, although it's possible to install such software.
- If you decide to go ahead it is strongly recommended to first enable the System Recovery Mode on your NAS before installing Debian to your flash memory. This provides a way to recovery/restore to original QNAP firmware is case of bad flash / incomplete flash writing / unable to boot.
- Please note that because Debian uses the mainline Linux kernel to which Marvell has contributed Orion support. This is work in progress and certain performance (e.g. hard drive) currently doesn't reach that seen with the QNAP firmware. Kernels with performance enhancements will be made available in the future.
Additional Tutorials
Here are some additional tutorials for installing Debian:
Supported QNAP NAS Models
Debian installer (Lenny RC1) is now fully supported on all the ARM-based QNAP NAS including:
- TS-109 (Standard/Pro/Pro-II)
- TS-209 (Standard/Pro/Pro-II)
- TS-409 (Standard/Pro/Pro-II)
- TS-409U (Standard/Pro/Pro-II)
Backup your data / partitions on flash memory
You have to make a backup of all the data stored on your QNAP NAS before starting with the installation of Debian since Debian will format the whole disk during installation. Also, Debian will replace the QNAP firmware in flash, so it's also recommended to make a copy of the flash partitions mtd1, mtd2 and mtd3 (contains kernel image, rootfs1 and rootfs2 respectively). Debian will only modify the first two partitions but it's good to keep a copy of these three since they are needed to create a recovery image for the QNAP. (comments taken from author's site)
cd /share/Public
cat /dev/mtdblock1 > mtd1
cat /dev/mtdblock2 > mtd2
cat /dev/mtdblock3 > mtd3
This will put mtd1, mtd2 and mtd3 in the Public share, so you can easily copy them to your PC or to the external USB.enclosure.
Enable the System Recovery Mode
It is strongly recommended to perform this step before installing Debian due to the possible failure when writing data to the flash memory to ensure your system can then be easily recovered or restored. The guide on enabling the System Recovery Mode can be found here.
Installation procedure
The overall installation process is briefly described below:
- Download the Debian installer images to the QNAP NAS.
- Flash the Debian installer to the flash memory, then reboots.
- Debian installer starts and allows you to login via SSH to perform the installation.
- Debian will be installed to disk and Debian kernel will be put in flash that will start Debian from the hard disk.
If you have already backup your data and intend to get started you can now go to the official website hosted by the project coordinator/developer for a complete, detailed, step-by-step installation guide. Please note that the installation process requires you to login via SSH to complete with thepre-defined username installer and password install.
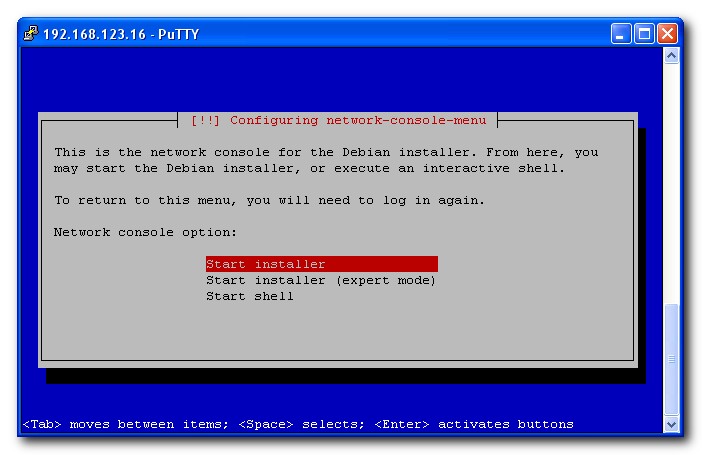
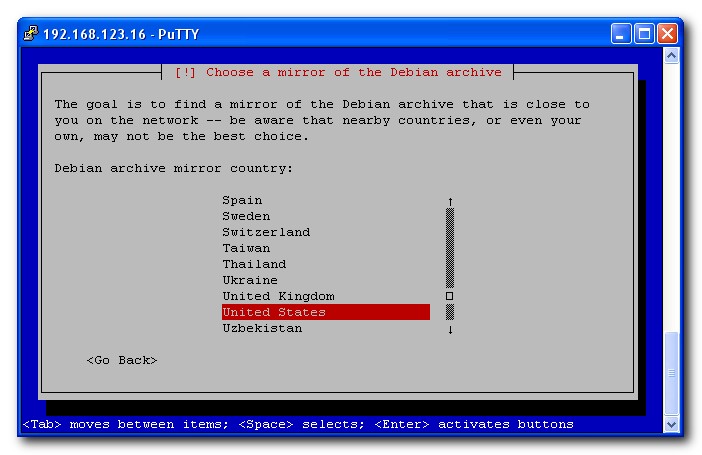
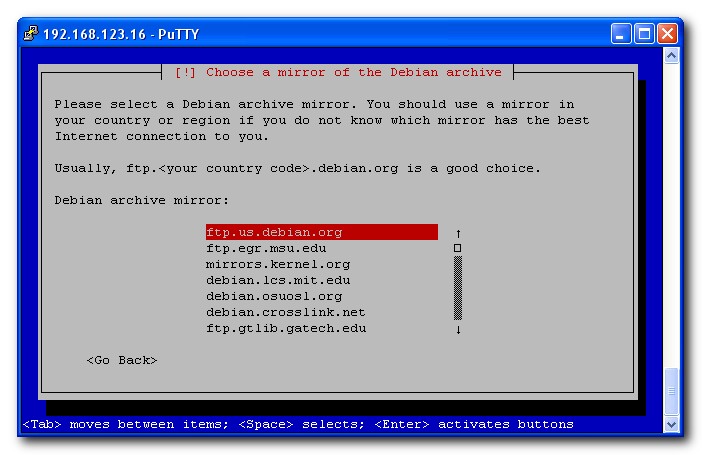
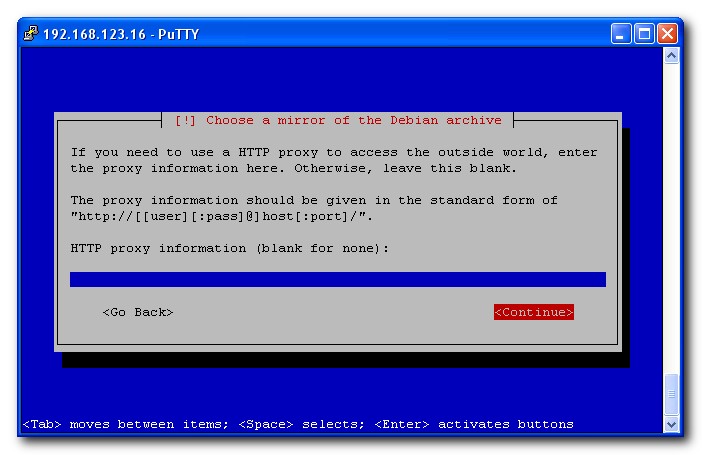
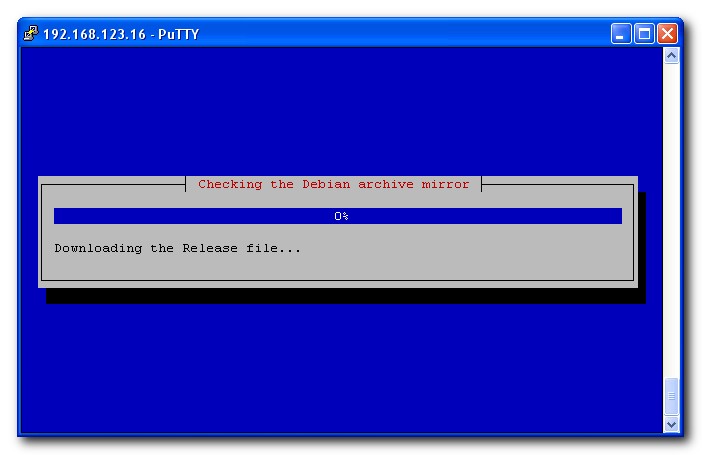
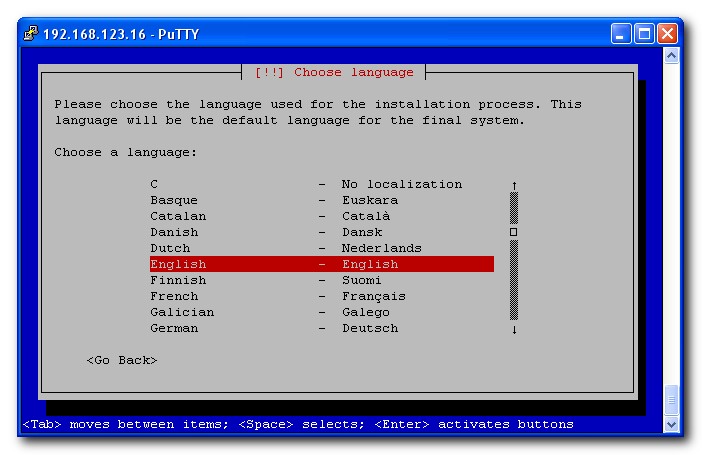
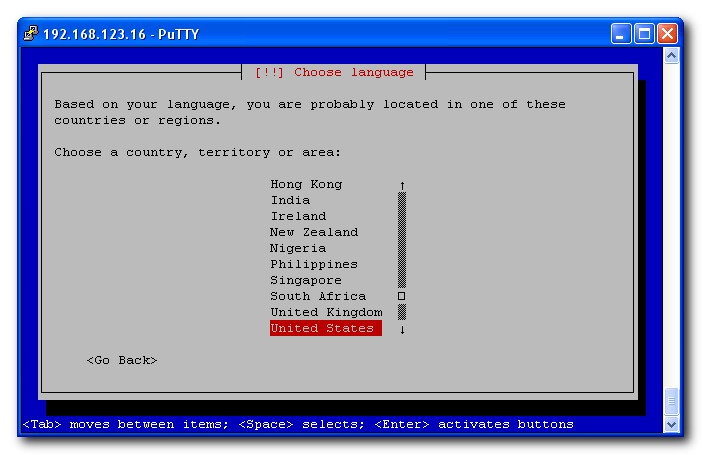
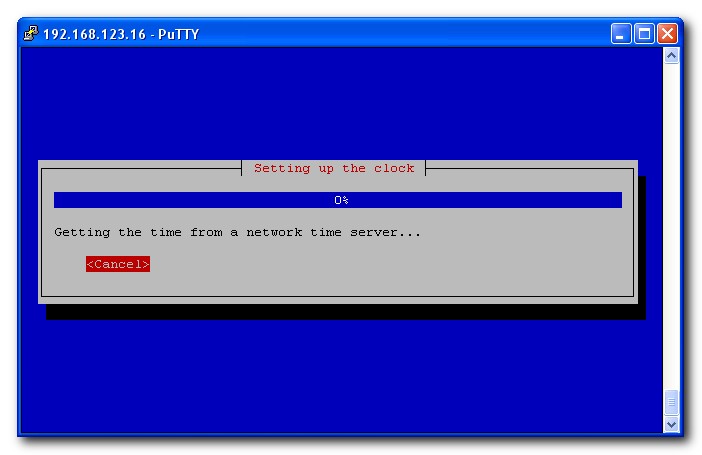
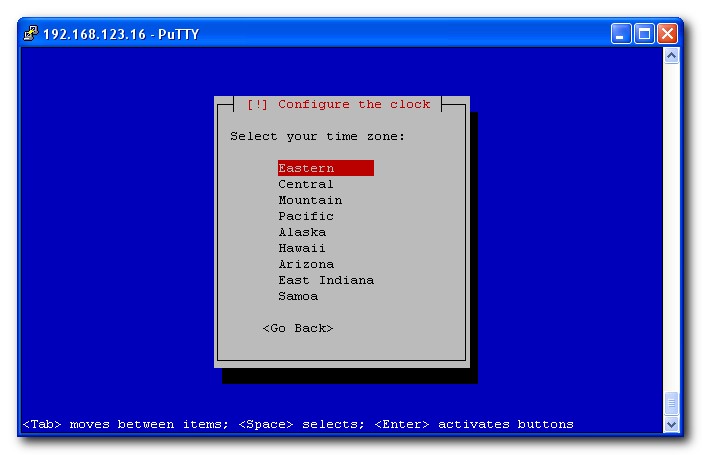
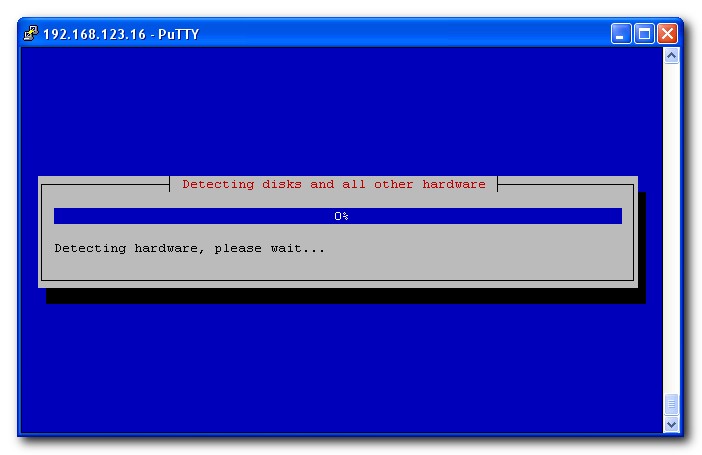
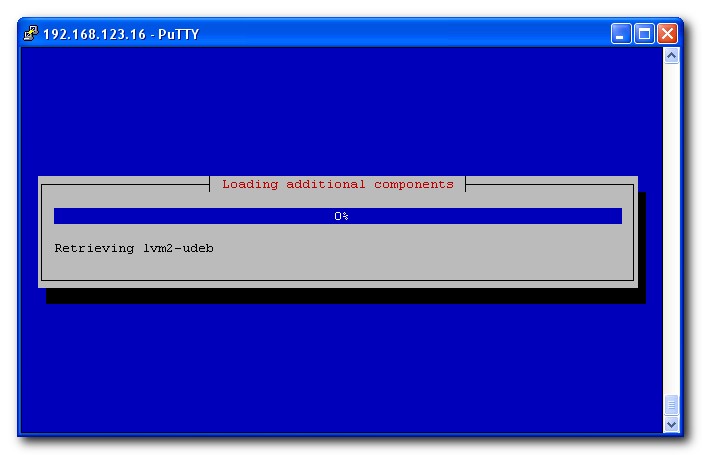
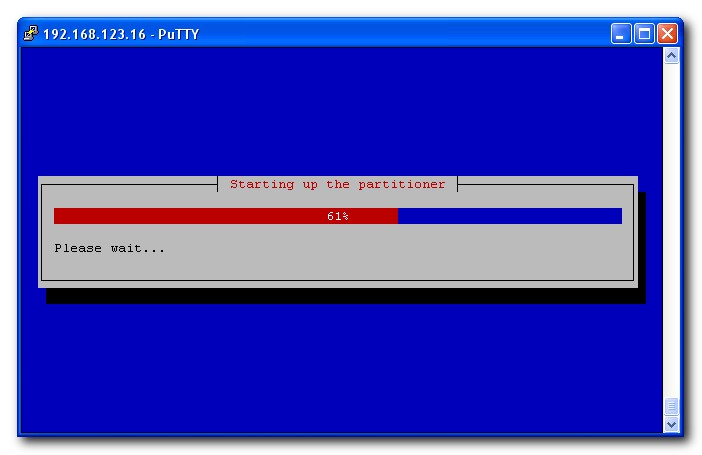
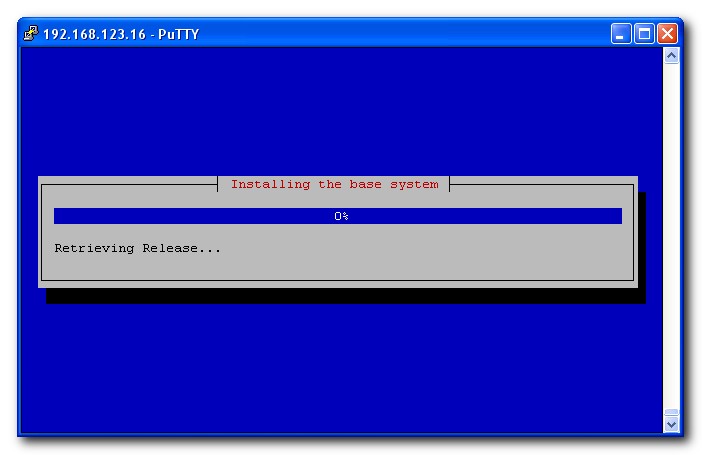
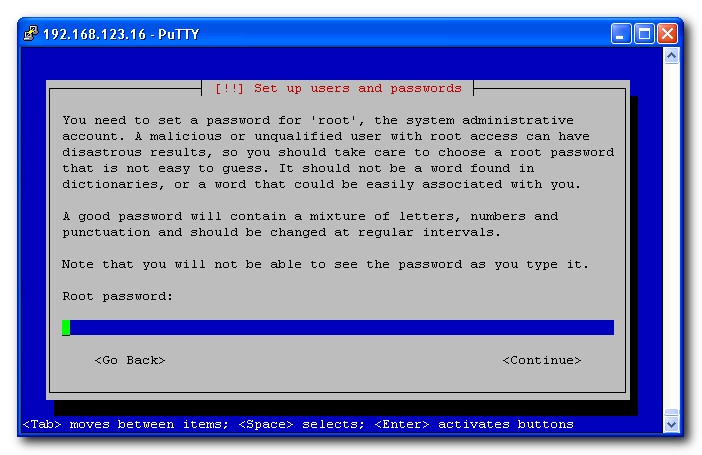
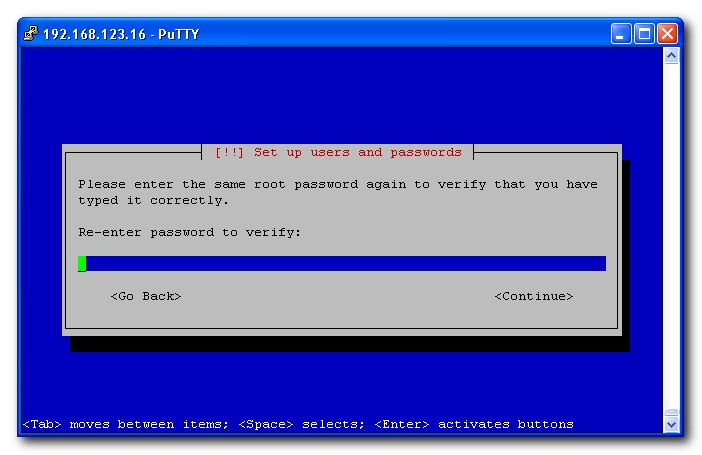
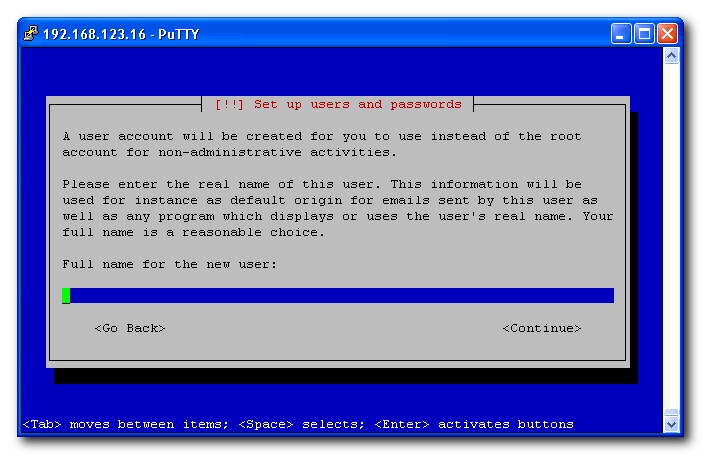
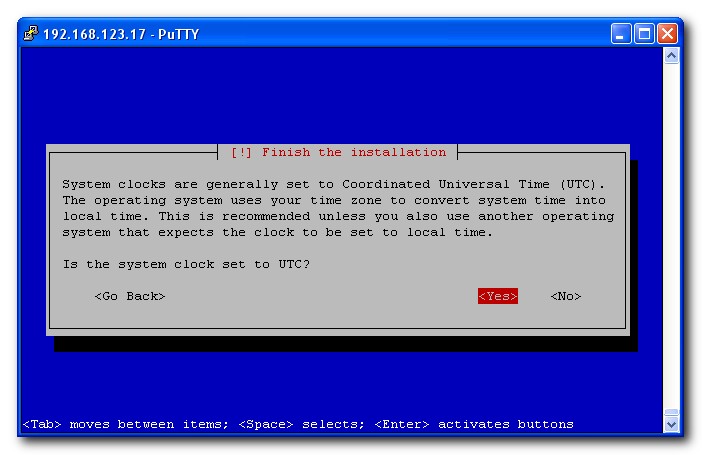
Screenshots on Debian Installation
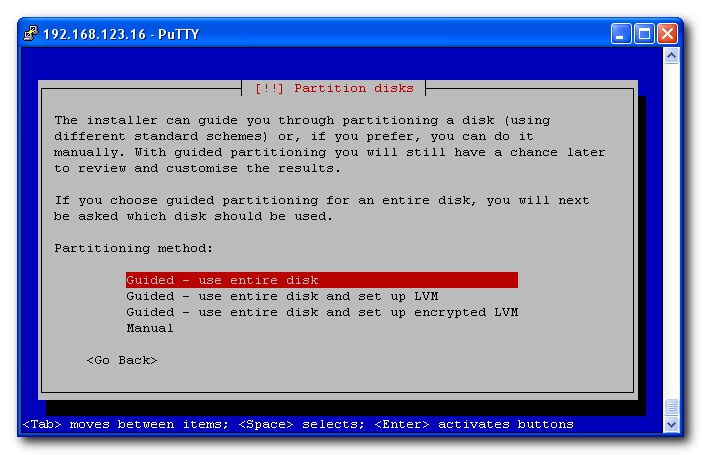
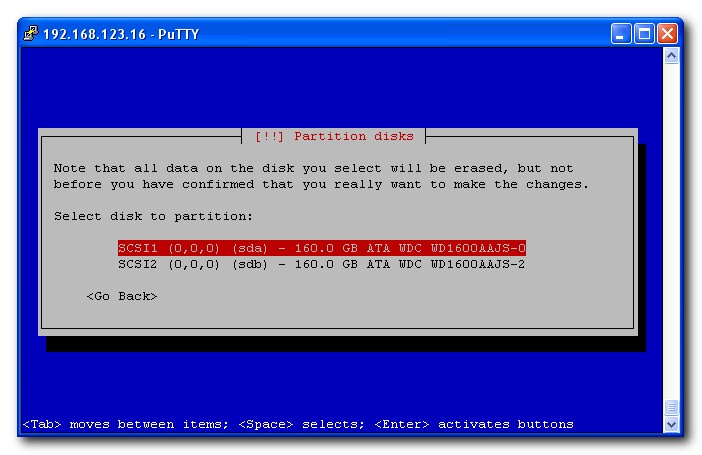
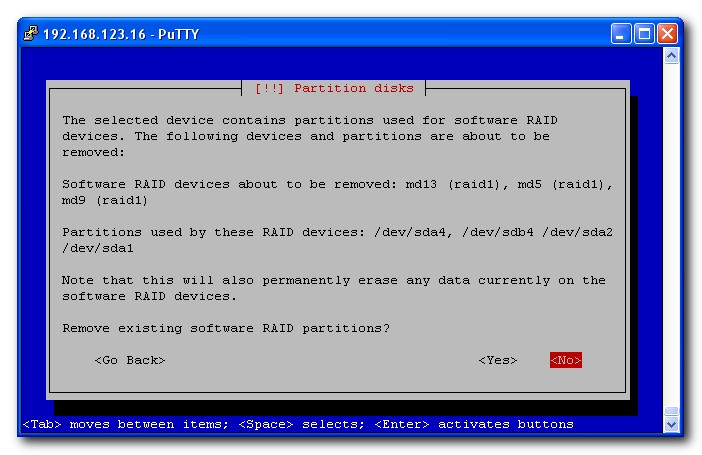
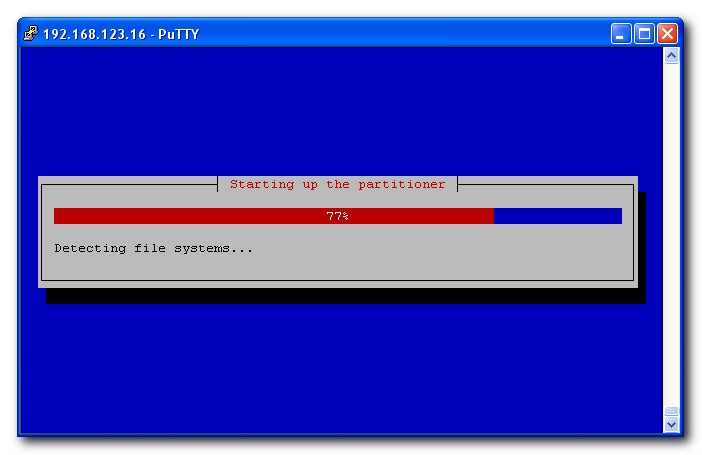
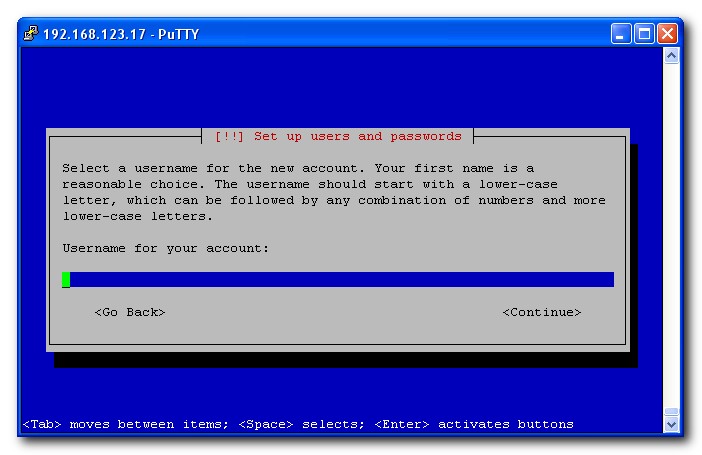
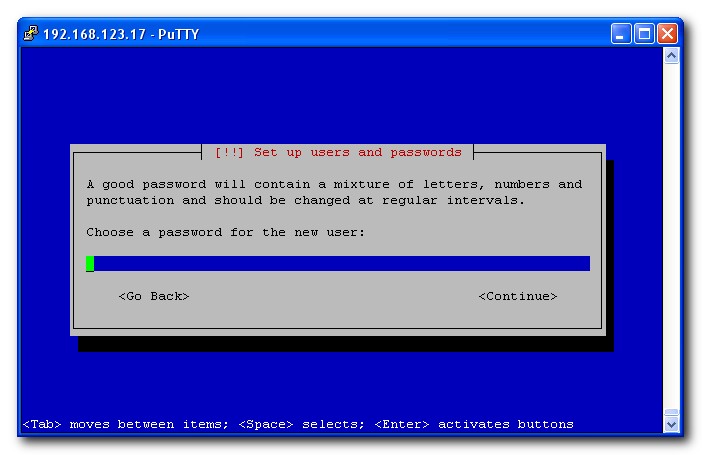
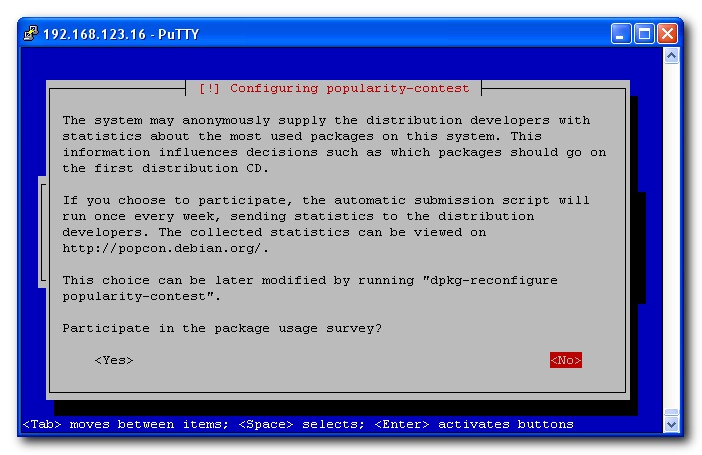
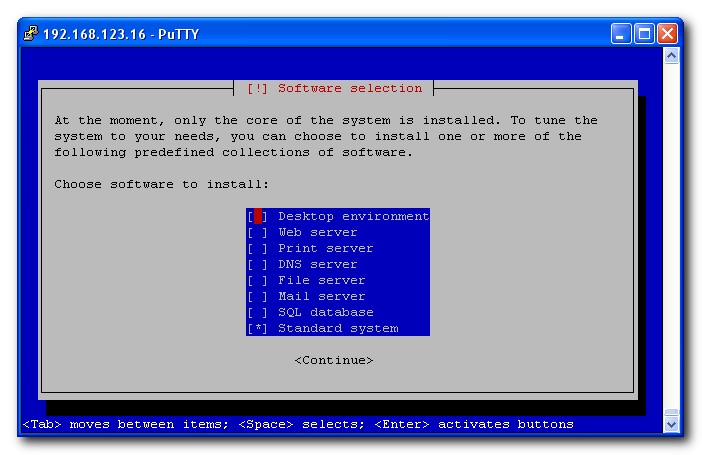
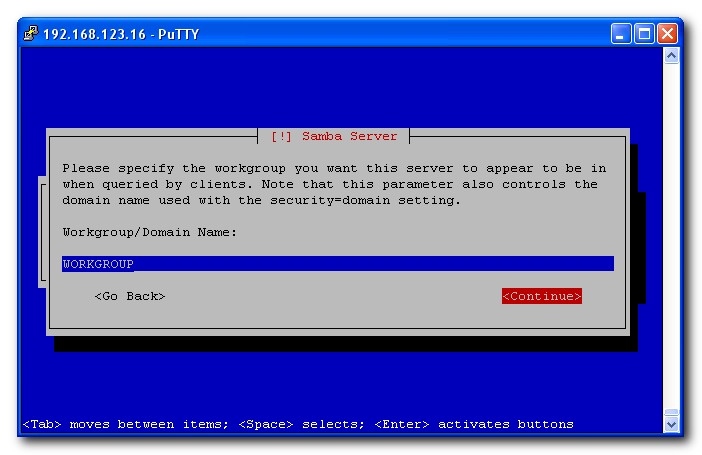
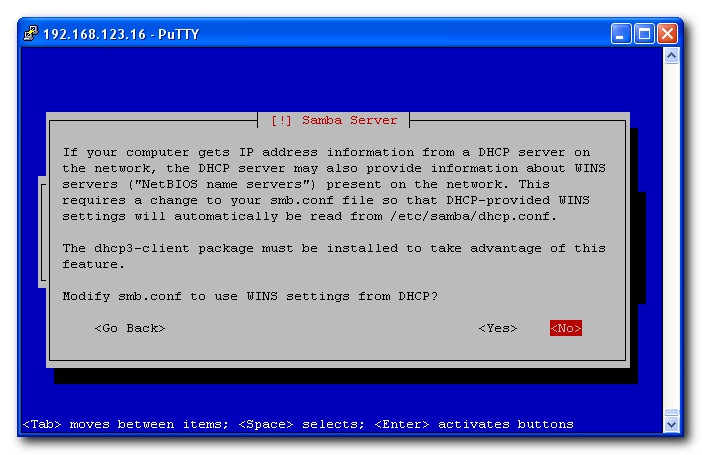
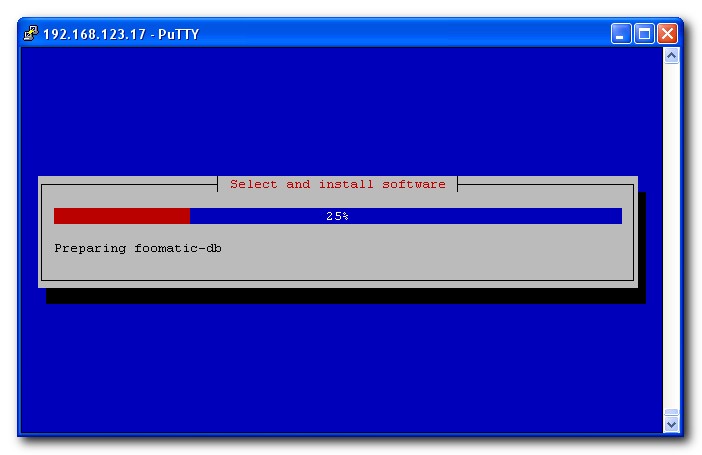
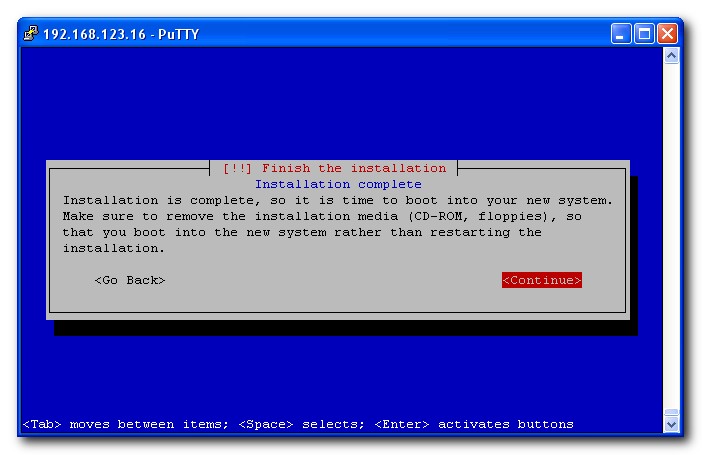
The Debian installation procedure is fairly standard as the installation on a PC however screenshots were taken and provided below to serve as a general setup guidance. You may follow this of your choice and if you have anything in doubt the official guide here can always be your friend.
File:Debian installation 18.jpg
File:Debian installation 21-3.jpg
Additional Resources
- About the author
- Official Debian on QNAP project site
- TS-109 / TS-209 / TS-409 specific FAQs
- Debian thread @ QNAP Forum
