How to flash BIOS if USB function is disable
Regarding to the different design, for some NAS models, if the user enters BIOS and disables USB SUPPORT, the system may not be able bootup NAS from USB DOM and USB keyboard is not working as well.
At this moment, you may need to RMA the NAS or follow below steps to flash BIOS. Inexperienced users should not attempt this procedure alone. If you are considering to do it., it is strongly recommended that you first contact your reseller for help and guidance.
1. Shut down NAS and unplug all disks from the NAS.
2. Prepare an extra SATA disk (Caution: DO NOT use NAS data disks).
3. Install the disk into an USB external enclosure and connect USB cable to Windows PC.
4. Download RMPrepUSB tool from below link and install it.
http://www.rmprepusb.com/documents/release-2-0/Install_RMPrepUSB_Full_v2.1.730.zip?attredirects=0&d=1
5. Launch RMPrepUSB tool to start creating bootable DOS disk.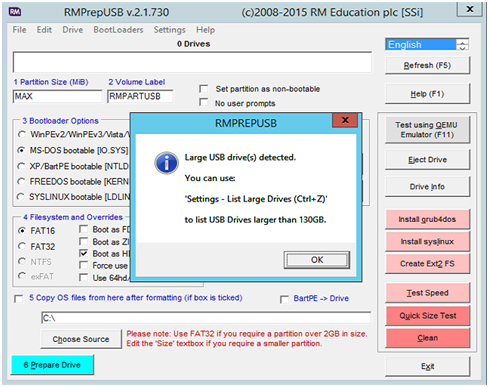
6. Click OK and then hit Ctrl+Z to list large drives.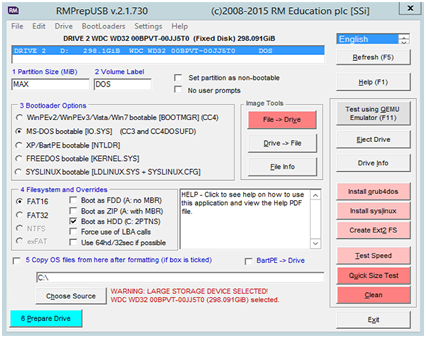
7. Refer to below screenshot to enter proper value or select proper option at
1 Partition Size: 2000 MB
2 Volume Label: DOS
3 Bootloader Options: MS-DOS bootable [IO.SYS]
4 Filesystem and Overrides: FAT16 and check Boot as HDD (C: 2PTNS)
5 Copy OS files from here after formatting: Select checkbox and choose source:
C:\Program Files (x86)\RMPrepUSB\FREEDOS_USB_BOOT
Click on 6 Prepare Drive button to start drive preparation.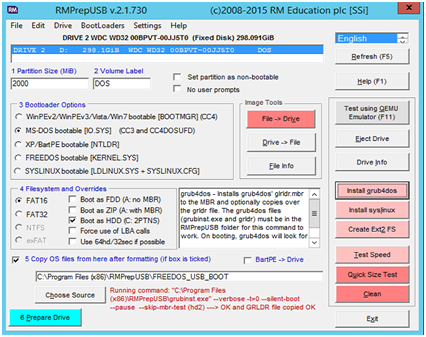
Click OK to continue.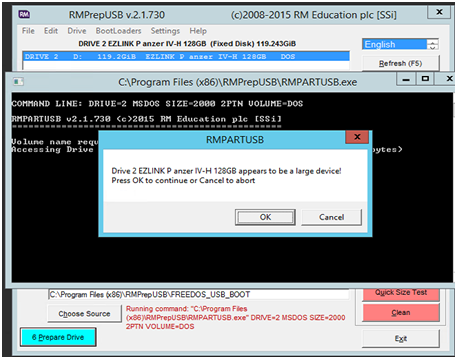
Click OK to confirm to erase all data on this drive.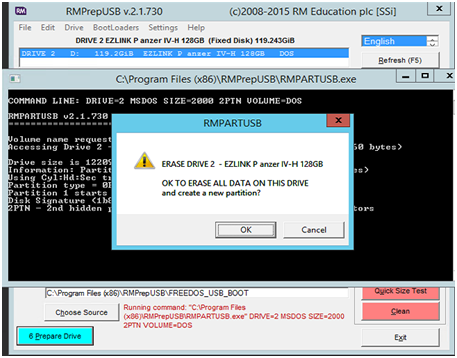
Copy is completed. Click OK button.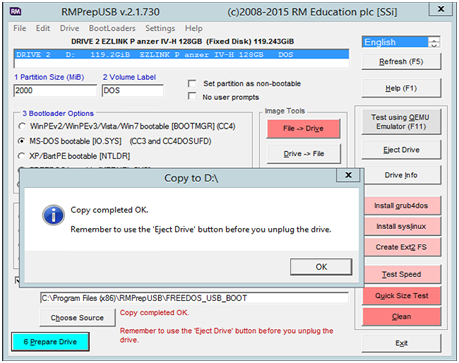
8. Click on Install grub4dos button to install bootloader.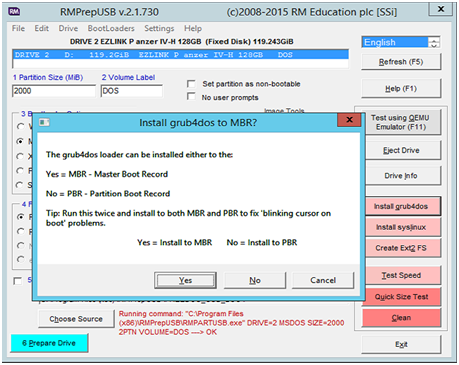
Click Yes button to install to MBR.
Click OK to confirm.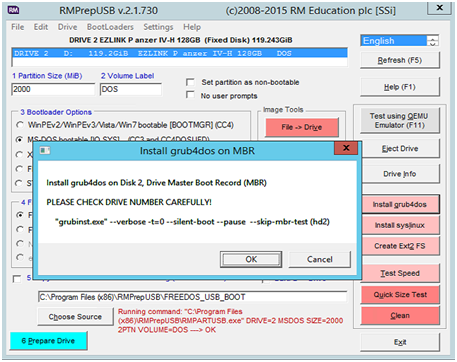
Click Enter to continue.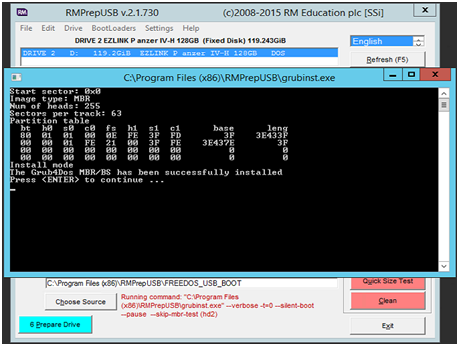
Click OK to copy grldr file to the drive.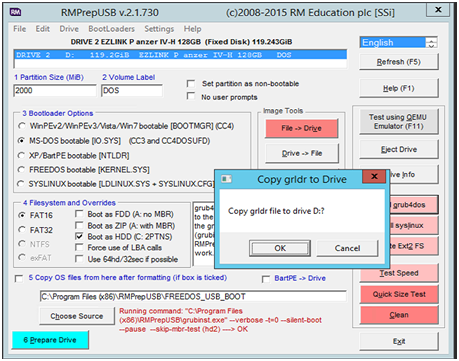
9. The bootable DOS disk preparation is done. Now you need to copy BIOS file to the drive and add the flash BIOS batch file, “GO.BAT” into the bootup script file to flash the BIOS automatically after the system powers on.
- Copy BIOS files to bootable disk drive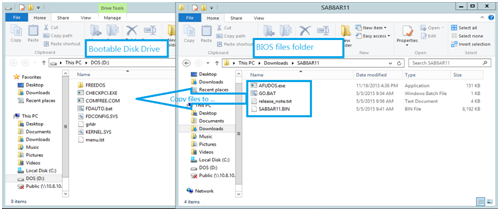
- Right-click on the file, FDAUTO.bat to edit it.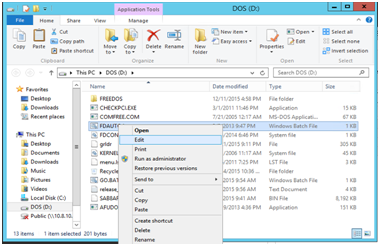
Append “;C:\” to 2nd line
Append “;A:\” to 3rd line
Add “GO.BAT” to last line
Click Ctrl-S to save the file.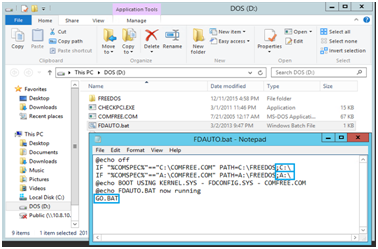
10. Now you can disconnect the drive from the USB external enclosure and plug it into disk slot of NAS. Power on the NAS.
- Wait for it to go to next step automatically.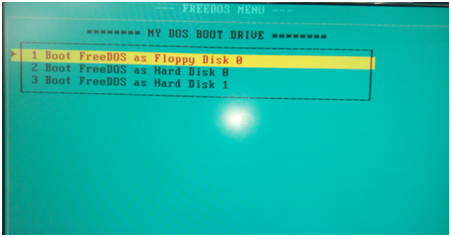
- The BIOS flash procedure is running automatically.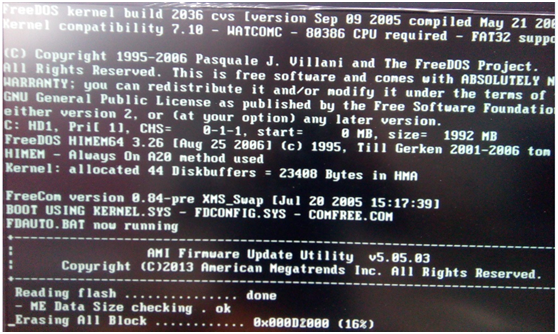
11. Once the process is done, please shutdown the machine. Unplug the bootable disk and plug back all NAS data drives and then power on NAS.